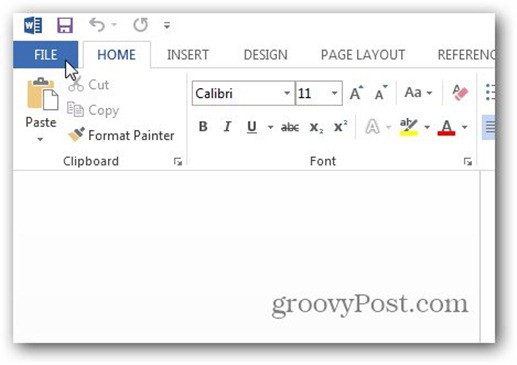
Even though the screenshots are of Word 2013, the same steps will get you the same results in Excel 2013. The only exception is when it comes to password protecting the PDF. That feature is only available in Word 2013. First, open the document you want to save to PDF. When you’re ready to save it to PDF, click File on the top left side of your Word 2013 window.
Now in the window that comes up, click Export.
Under Export, make sure Create PDF/XPS Document is selected, and then click the Create PDF/XPS button on the right.
You’ll get an Explorer window, make sure PDF is selected next to Save Type As. Select where you want the PDF to be saved, as well as the size of the file. If you want to use it for publishing, choose Standard. If it’s just for web viewing, Minimum size will be fine. Click Publish.
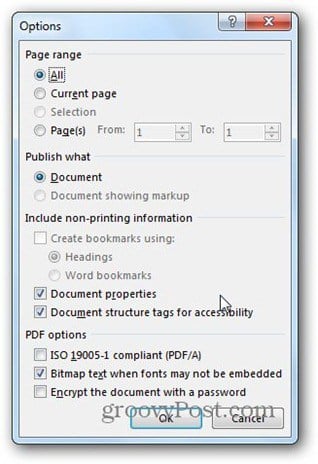
The window above also has an Options button which offers additional settings. It lets you select the page range you want to use for the PDF, as well as non-printing information included in the PDF.
The grooviest feature, in my opinion, is password protecting the PDF — and it’s easy. Just tick Encrypt the Document with a Password. Once you click OK, you’ll get the following windows where you can enter in a password for the document twice. Click OK to export to PDF.
Now, when you want to open the PDF, you’ll be prompted for the password to open it. Groovy!
If you’re all about protecting your documents, here’s how to password protect and encrypt Office 2013 documents. Thanks Sunny Thanks Ian Can you also do this with Excel, I can only seem to do it with word documents Comment Name * Email *
Δ Save my name and email and send me emails as new comments are made to this post.


