Create Windows 10 Universal App Desktop Shortcuts
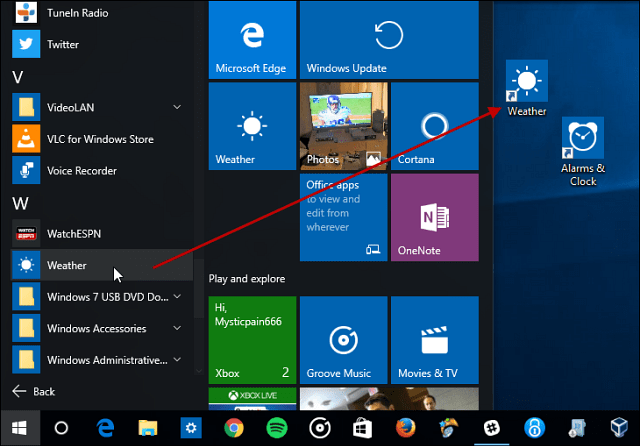
Method 1: Drag & Drop from Start First we’ll take a look at the easiest way. Go to Start > All apps and find the app you want to create a desktop shortcut. Then just drag and drop it from the Start menu to the desktop.
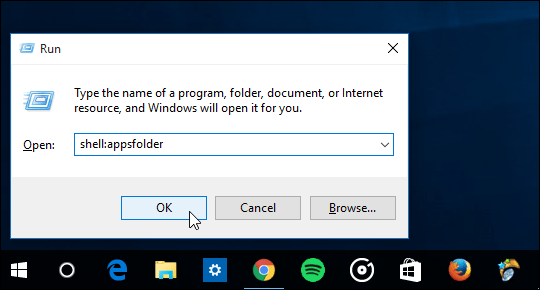
Method 2: Use File Explorer Another way to do it is via File Explorer. To do that, hit the keyboard shortcut Windows Key+R to bring up the Run dialog and type: shell:AppsFolder and hit Enter or click OK.
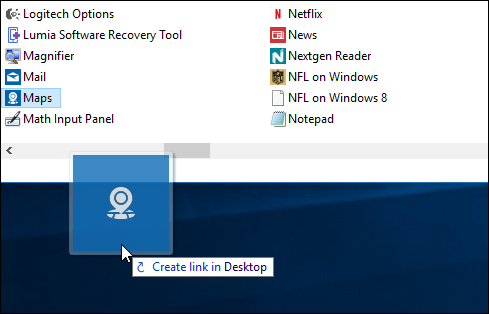
Here you’ll find all of the apps installed on your system. Right-click the app you want and drag it to the desktop. When you let go, select Create shortcuts here from the context menu that pops up.
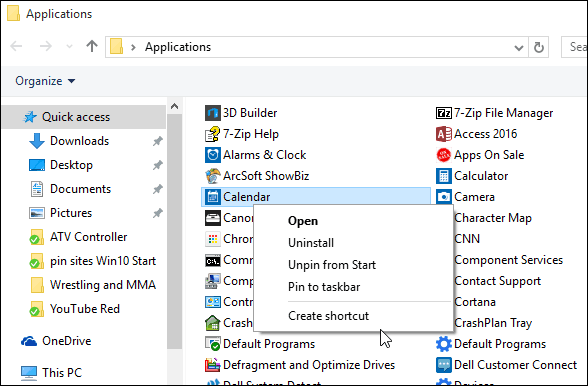
You can also right-click an app and then select Creat shortcut from the context menu.
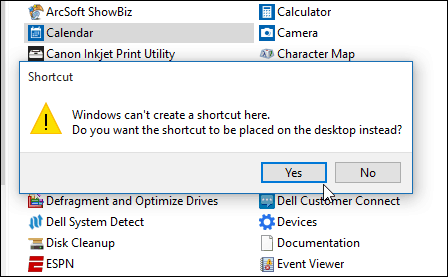
However, a message will come up saying you can’t create a shortcut in this location and ask to move it to the desktop. Click Yes.
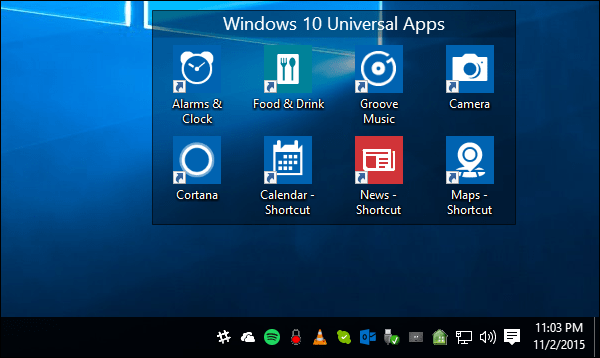
Either way you do it using the File Explorer method, it does add the app name with shortcut added to it. If you want to clean that up, you certainly can. I usually delete the dash and word shortcut. Of course, once you have your shortcuts created, you can move them to any folder you want. On my Windows 10 systems, I use a program from Stardock called Fences. It provides an easy way to organize desktop items into different groups on the desktop. In the example below I created a fence for universal apps and added different shortcuts.
C:\Users\user\AppData\Local\Microsoft\Windows\WinX Here you will find three folders (Group 1, Group 2, Group 3) and within those folders are shortcuts to system utilities. I’ve copied each one and put them into my own folder on the desktop for quick access. Comment Name * Email *
Δ Save my name and email and send me emails as new comments are made to this post.
